Monday, April 14, 2014

Mini album I made for some dear friend's baby shower. Lots of ribbon, pearls, rhinestones, metal embellishments, flowers and handmade crocheted flowers from one of my besties Wenona! 


Almost all of these embellishments are available for purchase here:
http://miriamscraftingblog.com/supplies.html


Friday, January 10, 2014

Recent Custom Projects

In this post, I'm adding a mixture of items that are the most recent custom orders I've done the last few weeks....


These are personalized baby wipes cases I made for some baby showers.


These were a custom order for baby shower invitations. I stamped and heat embossed the sentiment on the front, inked the edges, used fabric flowers, pearls, rhinestones, metal corner embellishments, real doilies and even pulled out the vintage Pearl Cotton embroidery thread!!
The information on the inside was printed.


This section is for the altered boxes I've done for customers. Complete with Metal Latch Locks, metal corner pieces, rhinestones Diamond glaze and inked edges.


This box has lots of pearls added....


This box has metal charms hanging from the metal flower....


Special order Slider box Chest. Monogrammed.


3D Paper Piecing Shadow Box
This one I used my Cricut and the Disney Classics Cartridge. Used Charcoal vinyl on the front for Bambi's name.


Special order Mini Clothes Pins. These are decorated with glitter paper, flowers and rhinestones. Also glazed the tops for extra shine and sealed the glitter.


Baby Shower Gift

Here's the latest baby shower gift set. 
Mini BOY Album, Personalized wipes case, Card, and Gift bag with tag. 


The Mini Album if full of pearls and metal embellishments and packaged neatly with a personalized tag.


Baby wipes case is personalized as well. Here's the front....


A cute little tow truck on the back!


Both items packed up.


Thursday, November 21, 2013

Altered snack contianer

This is an altered snack container that I made to look like a dress form...


Altered box tutorial....

This is a little gift box that I altered.....

I'll show you the step by step process.


Ordinary little gift box


Here's the box with the lid on.


I chose this distressed paper, measured the box, and cut the paper to fit.


I covered the surface of the box with double sided tape, using my ATG gun.


Completely covered bottom portion of the box.


I distressed the edges of the box with Tim Holtz Distress Stain.


Next, I measured the top of the box, cut the paper to fit, and taped it on using the same method as the bottom portion of the box.


I used brown ribbon to trim the edge of the box.


Cutting Bling Mesh/Ribbon into strips, getting ready to decorate the outside.


Using 3-1 glue, I glued the strips to strips of paper.


Hot glued a metal Latch to the box and added some metal corners and a metal flower with a pearled center.


I glued "FEET" to the bottom of the box using pearls.
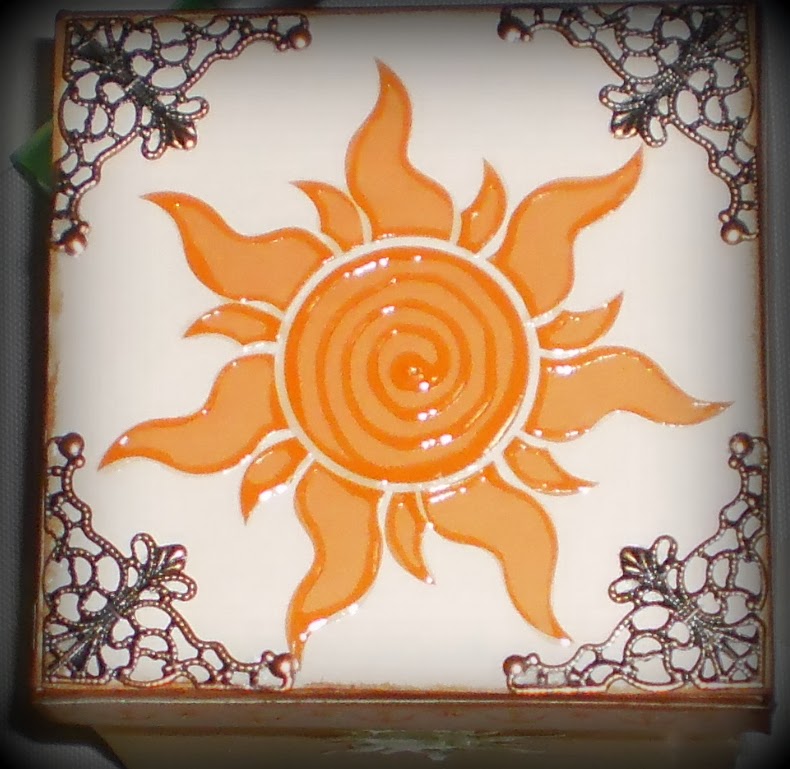
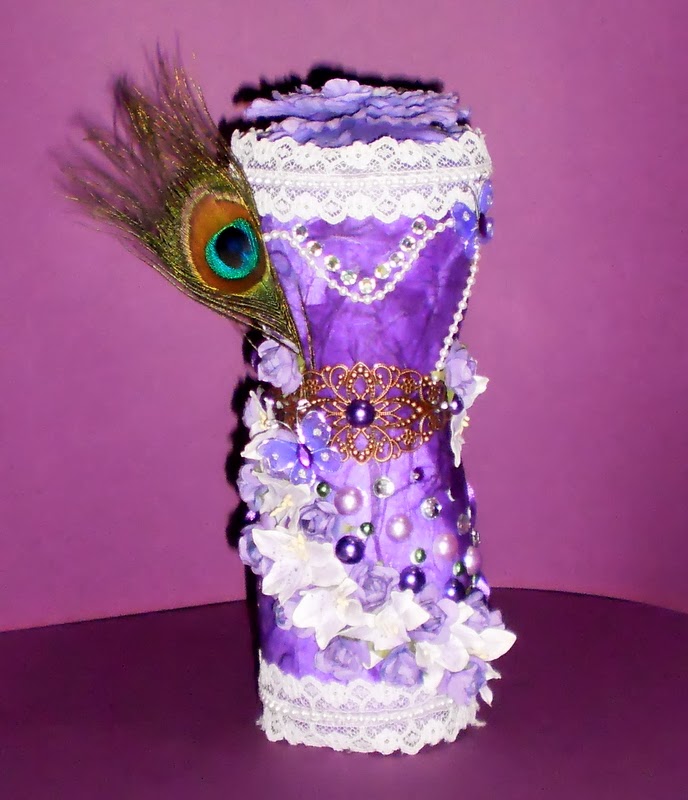
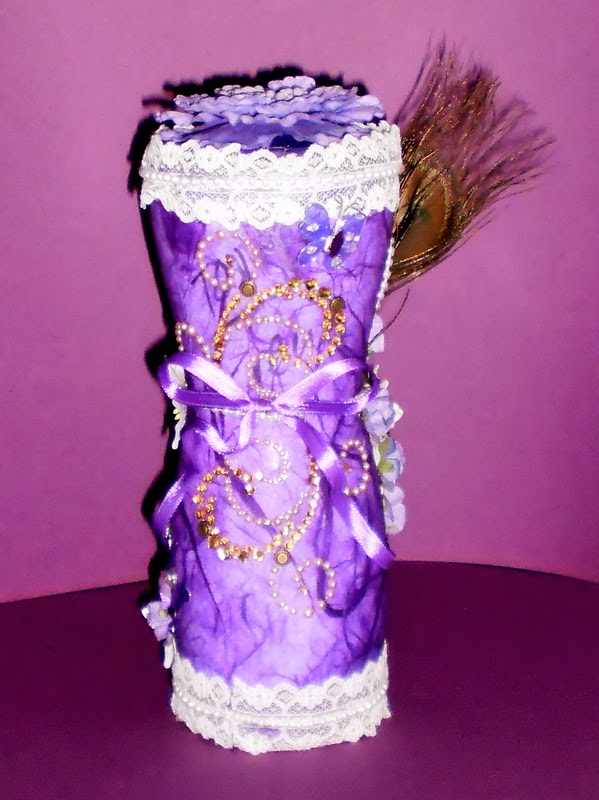


Finished product!