Quick and Easy Decorated Tea Lights
I needed to decorate these battery operated tea lights for a Mother's Day Tea. I forgot I had these, and then realized I had no candle holders to put them in, so I decided to just decorate them with materials I already had at home!
Here's what I used.....
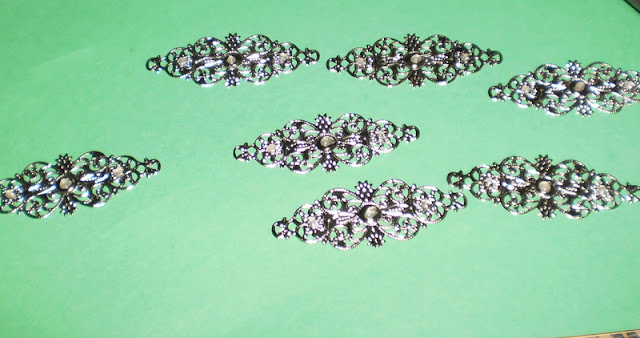
Rhinestones and metal embellishments from Miriam's Crafting Supplies. ( I have her link at the below)
I needed glue dots, scissors, velum, my heat tool, glue gun and glue sticks, used my ATG ( tape runner gun thingy) and my Scotch glue bottle to bend the metal pieces.
So.. I started out with these little tea lights.... and a 12x12 sheet of velum...
I cut the velum into strips and used my ATG to run adhesive along the bottom and up one side. I stuck it directly onto the tea light.
Her's where I did something I'd never done before.. after trial and error.... I figured out, if I add beads of hot glue to the metal pieces and let them dry, I could cut them down and clean up all the little glue strings off to make a very clean area to add the rhinestones to. Trimming the beads of glue while dried, allowed me to add the stones, without rushing, but also without the hot glue oozing out from underneath.
I used my heating tool to heat up each one, one at a time, to melt the glue again....
I used a book binder clip to hold it while I heated it up.... and because this charm is metal, it really held the heat nicely, and left the glue pliable enough to allow me to make sure each stone was on straight, and move if needed.
So, here is a close up of the charms and stones that I used.
Both charms and stones....... the clear rhinestones are 7mm and the colored ones are 5 mm, all flat backs....
( check them out below on the links provided, I get them for ridiculously low prices from Miriam!!)
All finished with the 8 of them.....
I used my glue bottle as a template.. I bent these around the glue bottle so they would fit onto the tea lights.....
I then used a glue dot to adhere the charm onto the tea light...
Here are all of them finished before adding them to the tea lights....
AND.. the grand finale..... 8 tea lights, that will be party favors as well, minimal effort, and they only cost about $4 to make all 8, and that is including ALL materials!!
Miriam's links:


